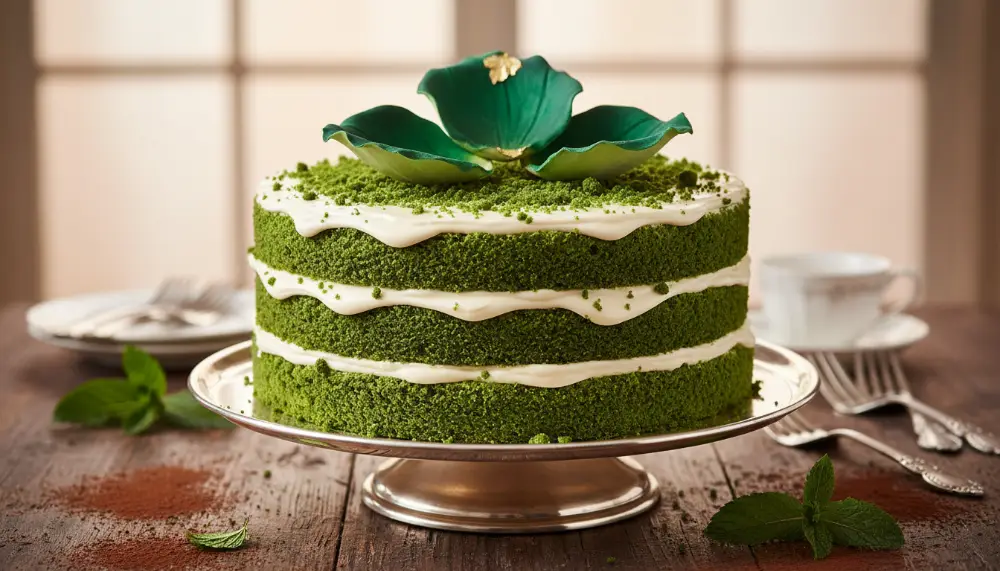
Prepare to dazzle your guests with this stunning Green Velvet Cake, a sophisticated twist on the classic velvet tradition featuring a moist, tight crumb and a brilliant emerald hue. This professional-grade recipe ensures a luxurious texture and a flavor profile that perfectly balances subtle cocoa with tangy buttermilk.

Professional Green Velvet Cake
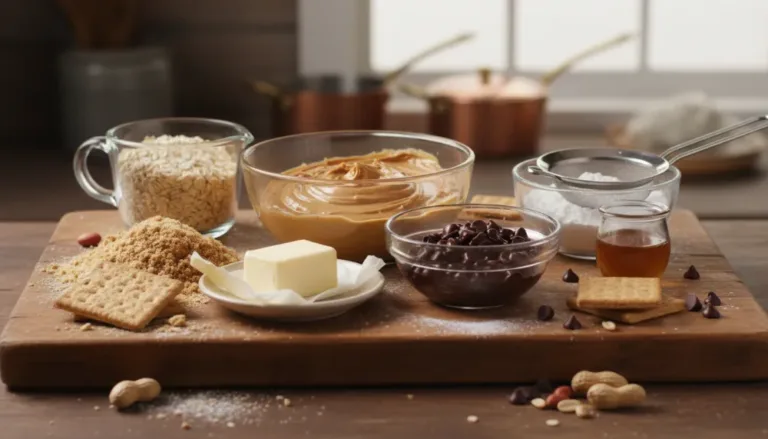
Ingredients
- 1 2.5 cups Cake Flour (sifted)
- 2 1.5 cups Granulated Sugar
- 3 1 tsp Baking Soda
- 4 1 tsp Natural Cocoa Powder
- 5 1 tsp Fine Sea Salt
- 6 1.5 cups Vegetable Oil
- 7 1 cup Buttermilk (room temperature)
- 8 2 Large Eggs (room temperature)
- 9 1 tbsp Distilled White Vinegar
- 10 1 tsp Alcohol-Free Vanilla Bean Paste
- 11 2 tbsp Green Food Coloring (or 1 tbsp Ceremonial Matcha)
Instructions
- 1 Preheat oven to 350°F (175°C). Grease and flour two 9-inch round cake pans.
- 2 Sift together the flour, sugar, baking soda, cocoa, and salt in a large bowl.
- 3 In a separate bowl, whisk the oil, buttermilk, eggs, food coloring, vinegar, and vanilla until fully emulsified.
- 4 Gradually mix the dry ingredients into the wet ingredients until just combined. Do not overmix.
- 5 Divide the batter evenly between the prepared pans and bake for 30-35 minutes or until a tester comes out clean.
- 6 Cool in pans for 10 minutes, then turn out onto wire racks to cool completely before frosting.
The History and Evolution of the Velvet Cake
The Green Velvet Cake is not merely a colorful novelty, it is a descendant of a long line of culinary excellence that traces back to the Victorian era. During the 19th century, bakers began experimenting with ingredients to soften the protein in flour, creating a texture so fine it was dubbed “velvet.” This was a revolutionary departure from the coarse, dense cakes common at the time. Historically, this was achieved by using almond flour or cornstarch, but the discovery of the reaction between acidic buttermilk and raw cocoa powder changed everything.
While Red Velvet became a household name thanks to the Waldorf-Astoria and the Adams Extract Company, the Green Velvet Cake represents the modern evolution of this technique. It emerged as a high-end alternative for spring celebrations and sophisticated themed events. In professional pastry circles, the green hue is often more than just a dye, it is a signal of unique flavor profiles, ranging from earthy matcha to buttery pistachio. The transition from red to green allows bakers to showcase their creativity while maintaining the structural integrity of the classic velvet crumb.
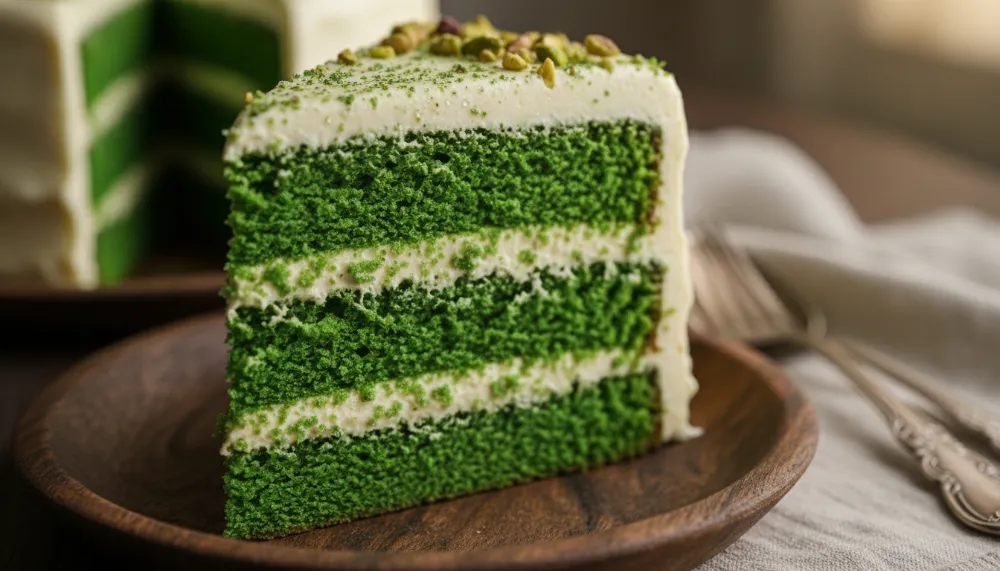
The Science of the Emerald Crumb
What makes a Green Velvet Cake truly “velvet” is the chemical synergy between the ingredients. This isn’t just a standard sponge cake with food coloring. The inclusion of vinegar and buttermilk creates an acidic environment that reacts with the baking soda, producing a massive amount of carbon dioxide. This reaction is what creates the tight, fine-pored crumb that feels like silk on the tongue. Furthermore, the small amount of cocoa powder is essential. Even though the cake is green, the cocoa provides a subtle depth of flavor and contributes to the unique structural mouthfeel.
When preparing the batter, achieving a perfect emulsion is key. For those looking to streamline their process, the Ninja BN751 Professional Plus DUO Blender is perfect for emulsifying the wet ingredients, including the food coloring and buttermilk, ensuring a perfectly uniform green base before the dry ingredients are introduced. A smooth emulsion prevents streaks in the final cake, ensuring that every slice is a vibrant, consistent emerald.

Key Ingredients for Professional Results
To achieve a high-authority result, you must look beyond standard grocery store staples. The quality of your ingredients directly dictates the quality of the Green Velvet Cake. Let’s break down the essential components:
The Flour Choice
Professional bakers always opt for cake flour over all-purpose flour for this specific recipe. Cake flour has a lower protein content (around 6-8%), which results in less gluten formation. This is critical for achieving that tender, melt-in-your-mouth texture. If you must use all-purpose flour, you should replace two tablespoons of every cup with cornstarch to mimic the properties of cake flour, but for the most authentic Green Velvet Cake, the real thing is irreplaceable.
Alcohol-Free Flavoring and Acidity
In accordance with strict dietary requirements, this recipe avoids all alcohol-based extracts. Vanilla extract is commonly 35% alcohol, which can be substituted with alcohol-free vanilla bean paste or powder. This not only meets dietary needs but actually provides a more intense, floral vanilla flavor. Similarly, we use distilled white vinegar to provide the necessary acidity. This vinegar is entirely alcohol-free and ensures the pH level of the batter is low enough to trigger the leavening reaction without introducing any prohibited substances.
Sophisticated Flavor Variations
While the classic vanilla-cocoa profile is beloved, the Green Velvet Cake serves as a canvas for several sophisticated variations. High-end bakeries often incorporate natural ingredients to achieve the green color while adding complex flavor layers:
- Matcha Infusion: By substituting a portion of the flour with high-quality ceremonial matcha powder, you create a cake with an earthy, umami depth that perfectly offsets a sweet cream cheese frosting.
- Pistachio Praline: Using the Cuisinart 8 Cup Food Processor, you can grind roasted pistachios into a fine paste to incorporate into the batter. This adds a nutty richness that is unparalleled in traditional cakes.
- Lime and Zest: Replacing the vinegar with fresh lime juice adds a bright, citrusy acidity that complements the green aesthetic perfectly.
Mastering the Frosting: The Ultimate Complement
No Green Velvet Cake is complete without its crowning glory: the cream cheese frosting. The contrast between the bright green cake and the snow-white frosting is what gives this dessert its iconic look. For the best results, use full-fat brick cream cheese and high-quality butter. The frosting should be whipped until it is light and airy, but stable enough to hold its shape between layers.
A professional tip for decorating is to use cake crumbs for a textured finish. You can take the domed tops that you’ve leveled off your cakes and crumble them finely. For an added crunch, place these crumbs in the Cosori 9-in-1 TurboBlaze Air Fryer for 3-4 minutes at a low temperature to lightly toast them. This adds a surprising and delightful texture to the outside of your cake, elevating it from a home-style dessert to a professional pastry creation.
Troubleshooting Your Green Velvet Cake
Even for experienced bakers, the Green Velvet Cake can present challenges. One common issue is the cake turning a brownish-green rather than a vibrant emerald. This usually happens if the oven temperature is too high, causing the sugars to caramelize excessively, or if you use a Dutch-processed cocoa powder. Natural cocoa is more acidic and lighter in color, making it the superior choice for maintaining the green hue. If your cake is too dry, it is likely due to over-mixing. Once the flour is added, the batter should be mixed only until no streaks of white remain.
Another common concern is the frosting sliding off the cake. This is usually a result of frosting the layers while they are still slightly warm. Patience is a virtue in the world of Green Velvet Cake. Ensure the cakes are completely cool, or even chilled in the refrigerator for an hour, before you begin the assembly process. This firms up the crumb and makes the application of the “crumb coat” much easier.
Storage and Serving Suggestions
Due to the cream cheese frosting, the Green Velvet Cake must be stored in the refrigerator. However, for the best eating experience, allow the cake to sit at room temperature for about 20-30 minutes before serving. This allows the butter in the cake and the frosting to soften, restoring the velvety mouthfeel. This cake also freezes exceptionally well. You can freeze individual slices wrapped tightly in plastic wrap and foil for up to three months, ensuring you always have a gourmet treat on hand.