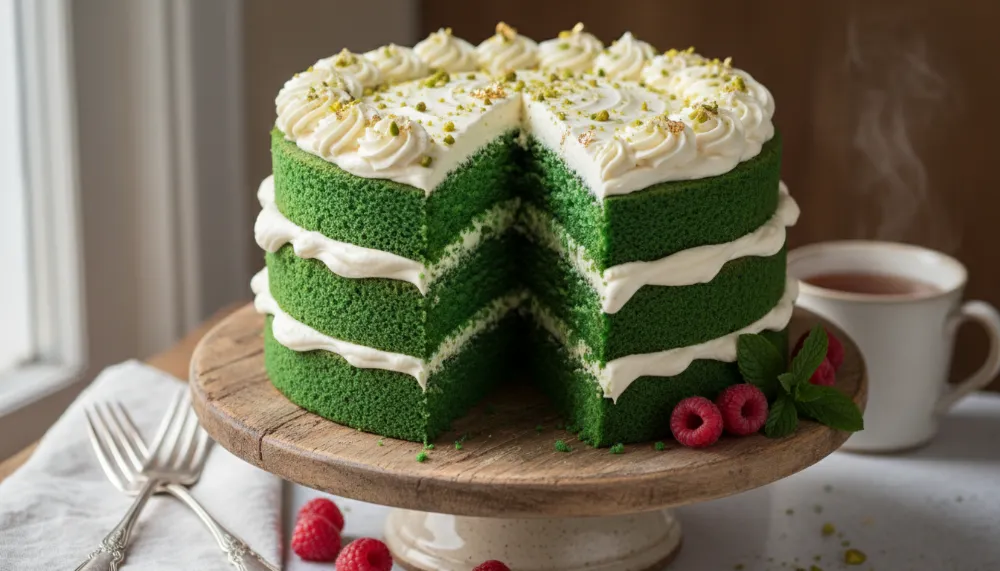
Experience the sophisticated charm of a Green Velvet Cake, a vibrant and silky dessert that transforms the classic velvet tradition into a stunning emerald masterpiece. This recipe provides a professional-grade approach to achieving that signature velvet crumb and a balanced flavor profile that rivals any high-end bakery.

Professional Green Velvet Cake
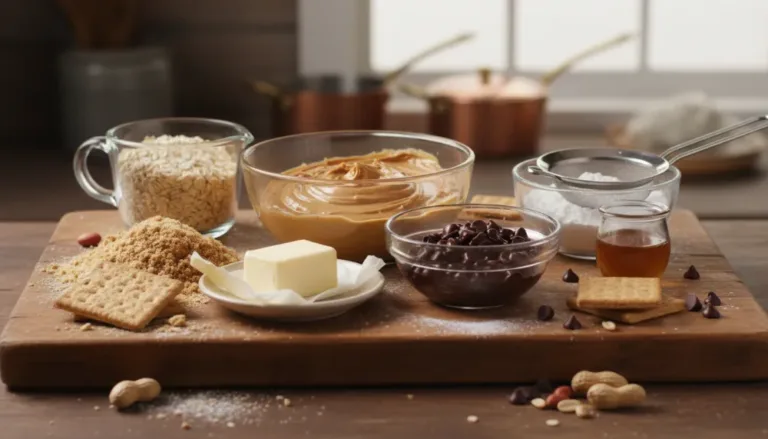
Ingredients
- 1 2 1/2 cups All-purpose flour (sifted)
- 2 1 1/2 cups Granulated sugar
- 3 1 tsp Baking soda and 1 tsp Salt
- 4 1 tsp Unsweetened cocoa powder
- 5 1 1/2 cups Vegetable oil
- 6 1 cup Buttermilk (room temperature)
- 7 2 Large eggs (room temperature)
- 8 2 tbsp Green food coloring gel
- 9 1 tsp White distilled vinegar
- 10 1 tsp Pure vanilla extract
- 11 16 oz Cream cheese and 1 cup Butter (for frosting)
Instructions
- 1 Preheat oven to 350°F (175°C). Grease and flour two 9-inch round cake pans.
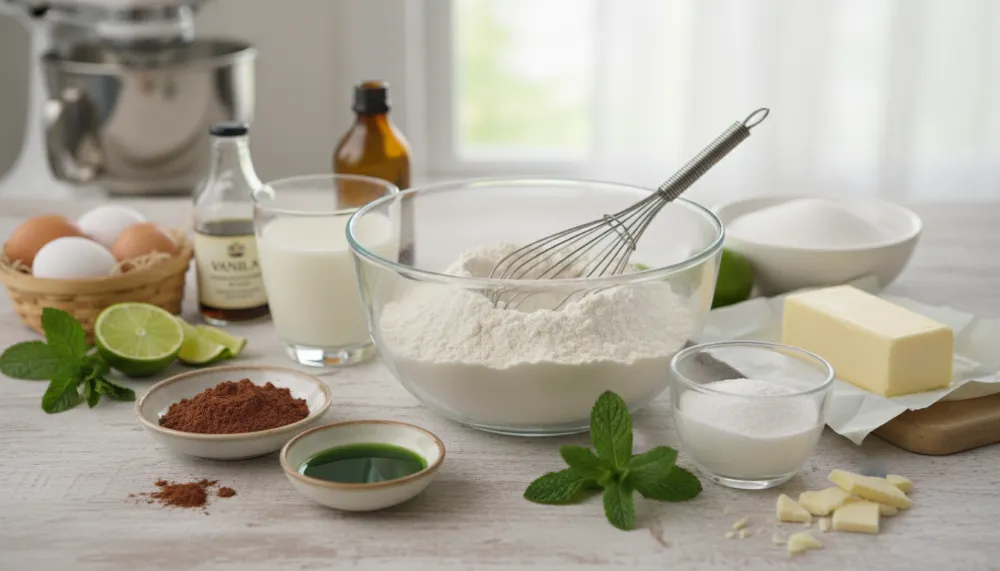
- 2 Sift together flour, sugar, baking soda, salt, and cocoa powder in a large bowl.
- 3 In a separate bowl, whisk together oil, buttermilk, eggs, food coloring, vinegar, and vanilla.
- 4 Gradually add the wet ingredients to the dry ingredients, mixing until just combined and smooth.
- 5 Divide batter evenly between pans and bake for 30,35 minutes until a toothpick comes out clean.
- 6 Cool in pans for 10 minutes, then turn out onto wire racks to cool completely before frosting.
The Historical Evolution of the Green Velvet Cake
To understand the Green Velvet Cake, one must first look at the long and storied history of the velvet cake family. Originating in the Victorian Era, the term “velvet” was used by bakers to describe cakes with an exceptionally smooth, fine-textured crumb. This was achieved by using ingredients like almond flour or cornstarch to break down the gluten in the wheat flour, resulting in a cake that felt like velvet on the tongue.
While its red cousin became an American icon during the early 20th century, the Green Velvet Cake emerged as a festive adaptation. Historically, the red color was a result of a chemical reaction between non-alkalized cocoa and acidic buttermilk. The green variation, however, became a favorite for spring celebrations and holiday gatherings. In professional pastry circles, it has transitioned from a seasonal novelty into a year-round gourmet staple, prized for its dramatic aesthetic and its ability to pair with a wide range of sophisticated flavors like matcha, pistachio, or lime.
The Science of the Perfect Velvet Crumb
What truly sets a Green Velvet Cake apart is the specific chemistry involved in its creation. Unlike a standard sponge or butter cake, the velvet cake relies on the interaction between acid and base. The inclusion of buttermilk and a touch of white distilled vinegar isn’t just for flavor, it reacts with the baking soda to create a massive amount of carbon dioxide. This process ensures the cake rises beautifully while maintaining a tight, silky crumb structure.
Furthermore, the use of vegetable oil instead of butter (or alongside it) provides a moistness that persists even after refrigeration. Since the Green Velvet Cake is almost always served with a rich cream cheese frosting, it must be stored in the fridge. Oil-based cakes remain soft when cold, whereas butter-based cakes can become hard and dense. This structural integrity is why professional bakers prefer the oil-buttermilk combination for high-end events.
Professional Flavor Variations and Innovations
While the classic recipe uses a hint of cocoa and vanilla, professional chefs often experiment with the “green” theme to create more complex flavor profiles.
One popular variation is the **Matcha & White Chocolate** blend. By substituting a portion of the flour with high-grade matcha powder, you achieve a deep, earthy green color naturally. The natural bitterness of the tea is perfectly balanced by a sweet white chocolate ganache. For those who prefer a nuttier profile, a **Pistachio & Rose** variation is a stunning choice. Finely ground pistachios can be incorporated into the batter for a natural mossy hue. You might use the **Cosori 9-in-1 TurboBlaze Air Fryer 6 Qt** (https://amzn.to/4hRWmVq) to lightly toast your pistachios before grinding, ensuring the oils are released for maximum flavor.
Another innovative approach is the **Spinach & Almond** cake. By using a vibrant spinach puree, you can achieve a “grass green” color that is completely natural. When executed correctly, the spinach leaves no vegetable taste, especially when paired with strong almond extract. To ensure the puree is perfectly smooth and doesn’t leave flecks in your batter, the **Ninja BN751 Professional Plus DUO Blender** (https://amzn.to/3LCDyNR) is an essential tool for its high-wattage pulverizing power.
Natural vs. Artificial Coloring
In the world of professional baking, the choice between food gels and natural colorants is a significant one. Food gels offer a vivid, neon-green intensity that is difficult to replicate with plants. However, natural colorants like chlorophyll or concentrated wheatgrass juice provide a sophisticated, organic look. If you choose the natural route, be mindful that the pH balance of the cake can affect the color. Too much acidity can turn a natural green into a dull brownish-olive, while a more neutral pH will keep the greens bright.
Mastering the Cream Cheese Frosting
No Green Velvet Cake is complete without its iconic white crown. The contrast between the deep emerald cake and the snow-white frosting is what provides the visual “wow” factor. To achieve a professional finish, your cream cheese and butter must be at true room temperature, not melted, but soft enough to yield to a finger’s touch.
For a perfectly smooth frosting without the grit of powdered sugar, many professionals use the **Cuisinart 8 Cup Food Processor** (https://amzn.to/47Nhbg8) to quickly pulse the sugar and cream cheese together. This ensures a stable, aerated texture that holds its shape for piping intricate designs. Remember to add a pinch of salt to your frosting, it cuts through the intense sweetness and highlights the tanginess of the cream cheese.

Nutritional Deep Dive: Understanding the Ingredients
A typical slice of Green Velvet Cake is a decadent treat, but understanding its components allows for better portion control and ingredient selection.
| Nutrient | Standard Bakery Slice | Natural/Modified Slice |
| :— | :— | :— |
| **Calories** | 350 – 450 kcal | 150 – 230 kcal |
| **Total Fat** | 18 – 28g | 4 – 10g |
| **Carbohydrates** | 45 – 60g | 15 – 25g |
| **Sugars** | 25 – 40g | 2 – 10g |
| **Protein** | 4 – 7g | 5 – 8g |
| **Sodium** | 200 – 350mg | 150 – 250mg |
By opting for a natural sweetener or a lighter frosting technique, you can significantly reduce the caloric density of the cake. However, the traditional recipe remains the gold standard for celebrations due to its unrivaled texture and flavor.
Troubleshooting Common Baking Issues
Even professional bakers encounter hurdles when working with velvet cakes. One common issue is the “doming” of the cake, which makes layering difficult. To prevent this, ensure your oven temperature is accurate and consider using bake-even strips. If your cake comes out too dry, it is likely due to over-mixing. Once the flour is added to the wet ingredients, mix only until the last streaks of white disappear. Over-mixing develops the gluten, turning a “velvet” cake into a tough, bread-like sponge.
Another concern is the fading of the green color during baking. This is often caused by the heat sensitive nature of certain food dyes. Using a high-quality gel color rather than a liquid grocery store dye will provide a more stable and heat-resistant result, keeping that emerald hue vibrant even after 35 minutes in the oven.
Serving and Presentation Tips
To showcase the beautiful interior, many bakers opt for a “naked” or “semi-naked” frosting style, where the sides of the green cake are partially visible through a thin layer of cream cheese frosting. This highlights the emerald crumb and provides a modern, rustic aesthetic. For a more formal look, use a bench scraper to achieve perfectly smooth sides and finish with a border of white chocolate pearls or edible silver leaf.
When serving, always use a sharp, thin-bladed knife dipped in hot water and wiped dry between each cut. This technique ensures clean, professional slices that show off the contrast between the green layers and the white frosting without smudging the colors.