Is your Chicken Parmesan missing that signature crunch or failing to live up to restaurant standards? Mastering this Italian-American classic requires more than just a recipe; it requires understanding the delicate science of breading, temperature, and moisture control.
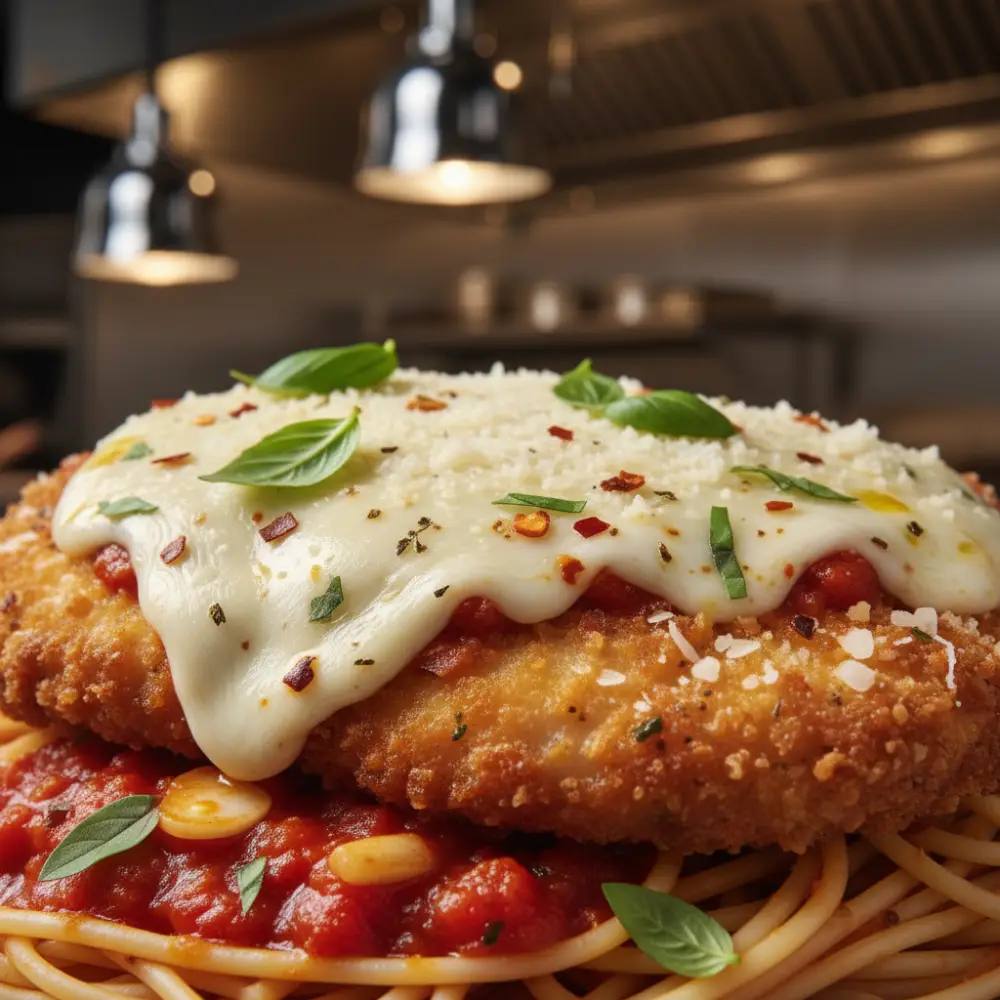
The Perfect Crispy Chicken Parmesan
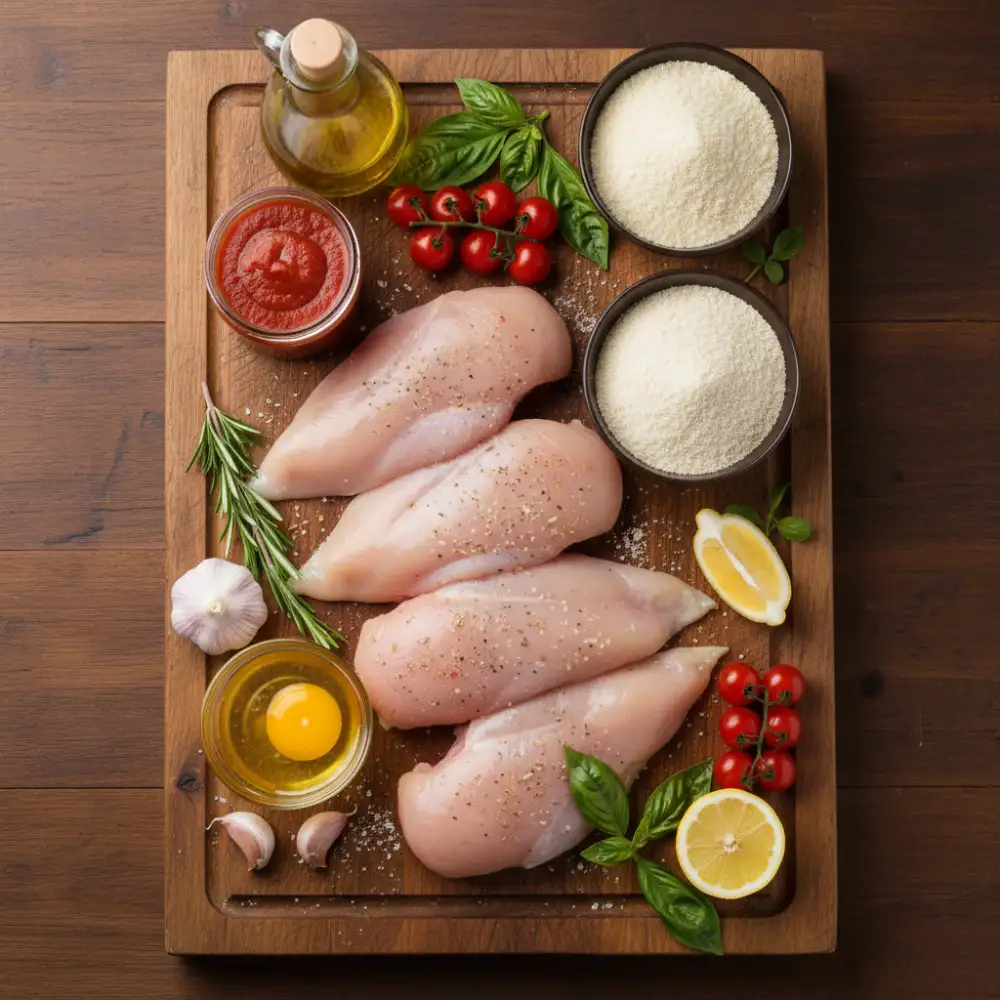
Ingredients
- 1 4 large chicken breasts, pounded to 1/2-inch thickness
- 2 1 cup all-purpose flour seasoned with salt and pepper
- 3 3 large eggs, beaten with 1 tablespoon water
- 4 2 cups Panko breadcrumbs mixed with 1/2 cup grated Parmesan
- 5 2 cups marinara sauce (reduced and thick)
- 6 8 oz fresh mozzarella cheese, sliced or shredded
- 7 1/4 cup vegetable oil for shallow frying
Instructions
- 1 Pat chicken dry and pound to even thickness using a meat mallet.
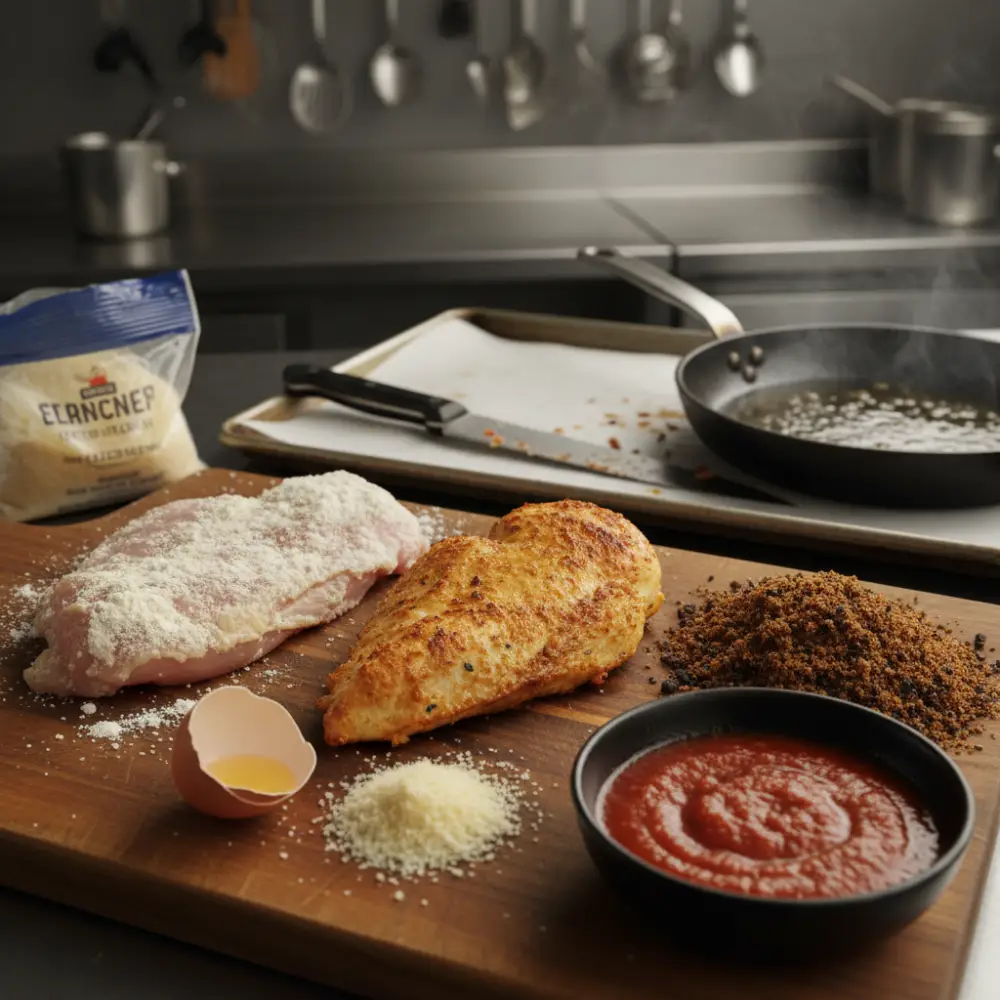
- 2 Dredge chicken in flour, dip in egg wash, and coat thoroughly with Parmesan-breadcrumb mix.
- 3 Heat oil in a large skillet over medium heat and fry chicken until golden brown on both sides.
- 4 Transfer chicken to a baking sheet, top with mozzarella and a small amount of sauce, then broil until cheese bubbles.
Why Your Chicken Parmesan Might Be Underperforming
When you sit down to a plate of Chicken Parmesan, you expect a harmonious balance of crunchy breading, tender meat, and gooey cheese. However, reality often presents a different picture, soggy crusts, dry chicken, or a breading that slides right off the meat. These issues are frustrating, but they are almost always the result of minor technical errors. Let’s dive into the core reasons your Parmesan chicken might not be working out and how to fix them with professional precision.
1. The Soggy Breading Syndrome
This is the most common complaint among home cooks. You spend twenty minutes breading and frying, only to have the crust turn into mush the moment it hits the plate. This usually happens because the chicken is drowning in watery sauce. If you place your beautifully fried chicken on top of a massive pool of marinara, the bottom crust will immediately absorb moisture through capillary action, turning into a sponge.
The Fix: To maintain crunch, you must control the moisture. Ensure your marinara sauce is thick and properly reduced. If you make your sauce using the Ninja BN751 Professional Plus DUO Blender, ensure you simmer it long enough afterward to evaporate excess water. Furthermore, only apply sauce to the top center of the chicken breast, leaving the edges exposed to maintain their crispiness. Never submerge the chicken in sauce.
2. The Disappearing Crust: Why Breading Falls Off
There is nothing more disheartening than cutting into your chicken and seeing the breading slide off in one solid piece, leaving a naked piece of meat behind. This happens because of steam trapped between the chicken and the breading. If the chicken surface is wet when you start the dredging process, that moisture turns to steam during frying, pushing the crust away from the meat.
The Fix: Pat your chicken “bone-dry” with paper towels before it ever touches the flour. The standard breading procedure (SEP) is crucial: flour, then egg, then breadcrumbs. The flour acts as a primer, the egg as the glue, and the crumbs as the finish. For a more efficient prep station, use the Cuisinart 8 Cup Food Processor to create a uniform crumb size, which helps the breading adhere better to the meat’s surface. Press the breadcrumbs firmly into the chicken with the palm of your hand to ensure a tight bond.
Mastering Temperature and Thickness
Cooking chicken breasts can be tricky because they are naturally uneven. One end is thick and bulbous, while the other is thin and narrow. If you cook them as-is, the thin end will be dry and rubbery by the time the thick end reaches a safe internal temperature.
3. Uneven Cooking and Texture Issues
Uneven thickness is the primary reason for “patchy” results where some parts are burnt and others are barely cooked. Pounding the chicken to a uniform 1/2-inch thickness is not optional; it is a requirement for success. This ensures that every square inch of the chicken reaches the finish line at the exact same time.
4. The Burnt Crust vs. Raw Center Dilemma
Breadcrumbs, especially those mixed with Parmesan cheese, have a low burn point. If your oil is too hot, the exterior will turn black before the chicken inside is safe to eat. Conversely, if the oil is too cool, the breading will soak up the grease, resulting in a heavy, oily mess.
The Fix: Maintain a steady medium heat (around 350°F). If you find your crust is browning too quickly, don’t keep frying. Transfer the chicken to the Cosori 9-in-1 TurboBlaze Air Fryer 6 Qt to finish cooking the interior. The air fryer provides circulating heat that keeps the crust dry and crispy while ensuring the chicken stays juicy.
The Historical and Culinary Context
While many assume Chicken Parmesan is a centuries-old Italian dish, it is actually a brilliant Italian-American adaptation. In Italy, *melanzane alla parmigiana* (eggplant parmesan) was the standard. When Italian immigrants arrived in the United States in the early 20th century, they found that chicken was far more affordable and accessible than it had been in their homeland. They adapted the eggplant technique to poultry, creating a dish that eventually became a staple of the American food scene by the 1950s. This history is important because it reminds us that the dish is designed for hearty, satisfying flavor, not necessarily delicate restraint.
Professional Flavor Variations (No Alcohol, No Pork)
Standard recipes often rely on wine for acidity or pancetta for depth, but you can achieve even better results with smart substitutions that adhere to strict dietary needs.
- Sauce Depth: Since we are not using alcohol, deglaze your pan with a splash of beef broth or a high-quality balsamic vinegar. The vinegar provides the necessary acidity to cut through the richness of the cheese and fried breading without the need for wine.
- Aromatic Infusion: Don’t just season the chicken; season the breading. Add dried oregano, garlic powder, and a generous amount of freshly grated hard-aged cheese (like a high-quality Parmesan) directly into the breadcrumb mixture.
- Cheese Blending: While mozzarella provides the melt, a sharp Provolone or a bit of white cheddar can add a complex savory note that makes your dish stand out.
Optimal Meal Prep and Storage
If you are making a large batch, storage is key to preventing the dreaded “leftover sogginess.” If you store fried chicken in a plastic container with sauce already on it, it will be ruined by the next day.
Professional Tip: Store your fried chicken cutlets separately from the sauce. Use the Rubbermaid Brilliance Glass Storage Set to keep the components fresh. For long-term storage of the chicken cutlets, the FoodSaver Vacuum Sealer Machine is an essential tool to prevent freezer burn and keep the breading from absorbing refrigerator odors. When you are ready to eat, reheat the chicken in an air fryer or oven to restore its crunch before adding fresh sauce and cheese.
Nutritional Overview
Chicken Parmesan is a protein powerhouse, primarily because of the chicken breast. However, because it involves frying and cheese, the calories can add up. One serving typically provides roughly 35-45 grams of protein. To lighten the dish without sacrificing flavor, you can use the Cosori TurboBlaze Air Fryer for the entire cooking process, which reduces the amount of oil needed by up to 85% compared to traditional shallow frying. This allows you to enjoy the crispy texture with significantly fewer grams of fat.
Final Checklist for Success
- Pound it out: Ensure 1/2 inch uniformity across all pieces.
- Dry it off: Moisture is the enemy of adhesion.
- Heat it right: Medium heat for the pan, or use a reliable air fryer.
- Sauce sparingly: Don’t drown your hard work.
- Season every layer: Flour, egg, and crumbs should all be seasoned.
By following these professional troubleshooting steps, you will transform your Chicken Parmesan from a hit-or-miss meal into a consistent family favorite. Remember, the secret isn’t in a magic ingredient, it’s in the mastery of moisture and temperature.